
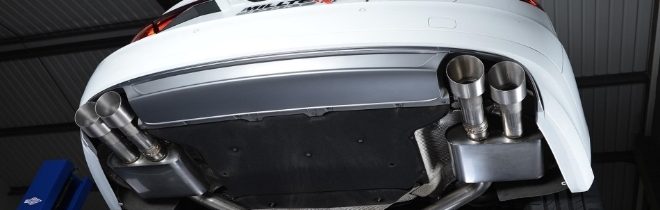
Welding exhaust tubing yourself in your garage can help keep some money in your pocket, instead of putting it in a professional’s. It can be easily done with a stick welder and is not a complicated process; it just requires some concentration and instruction. The following the step-by-step guide will help give you a basic working knowledge of what you can do with your exhaust system.
Safety note: Make sure to weld the exhaust tubing away from your car to prevent accidents involving flammable materials.
Step 1 – Cut the Exhaust Tubing
The first step is the most important step because how accurately and neatly you cut the exhaust tubing will affect how easily the complete exhaust system eventually falls into place. Measure and mark where you need to cut your tubing, and then use chain pipe cutter, or a hacksaw for the budget conscious, to make straight cuts. It is very important that the cut around the tubing is as straight as you can get it; otherwise, it will not be possible to snugly fit one piece of tub into another for a weld job. The trick is to envision how the system will be mated up after the weld. Keep that picture in mind while carefully and slowly making your cut. Also, make sure you’re wearing all your safety equipment (goggles, face shield, and gloves) while doing this job.
Go over the edges with a grinder afterward to remove any imperfections that may have resulted during cutting.
Step 2 – Clamp the Tubing Together
To keep both of your hands free for welding, clamp the exhaust tubing together using a type of C-clamp meant for welding objects. Fit the two pieces together exactly how you want them before you secure them in place, making small adjustments as needed until it is perfect. Adjusting the mating after you’ve welded the tubing together will be very difficult.
Step 3 – Spot Weld
The best way to weld exhaust tubing is to first apply spot welds. Go around the circumference of the tubing placing three or four tiny welds. As welding heat is really high, this will prevent the tubing from warping and getting out of shape, which could create gaps. If gaps are created on the opposite side of the tubing, you can easily bend them back in as the spot welds will still be holding the clamped tubing together.
Step 4 – Weld the Gaps
After you’re done with the previous step, it is time to fill in the rest of the gaps. Make sure you do a 100 percent weld all around the exhaust tubing as this will ensure the best fit of the steel and will prevent leaks from developing in the future. You can weld right over the areas from earlier for a more seamless job.
Source- http://www.doityourself.com/stry/how-to-weld-exhaust-tubing